Thursday, December 12, 2013

RX-79(G) Cold District/Expedition Part 4

Here are the latest updates!
Here is the head with the new communications antenna. They turned out pretty good!

RX-79(G) Cold District/Expedition Part 3

Here is the next part of the armor mods. The smaller bits of armor are supposed to be beams that are holding the makeshift armor in place.

RX-79(G) Cold District/Expedition Part 2

Here is my latest update... Its pretty much taken me an hour or two, but both feet are done up like this. Just really waiting for them to dry before I put them together. Its not a ton of articulation, but more than it had.

RX-79(G) Cold District/Expedition

So if any of you remember... I have a huge obsession with the MG RX-79(G). This kit i'm going to be doing a few new things. I'm going to be doing a waist mod to make it easier for seam removal and painting. I will be doing the same thing with the backpack. I also want to create some articulation for the feet. This is something I have never done before... This should be rather interesting. :D I am also going to be adding just a small amount of armor. The way I want this armor to look is though it was added on for necessity not for aesthetics. but it will hopefully at least look good. Here is some of the work I have done already. :D

So without further ado, here are some pictures!

Monday, September 16, 2013

Dual RX-0 Unicorn Gundam Build

So while the putty work is drying on the RX-79(G) Winter Camo and the Zaku RD-4 I decided to break out the Full Armor Unicorn Gundams. This is one fun kit to build. Very intensive, fantastic detail. Took about 10 hours to build one.... But that wasn't enough for me. I built two of these bad boys. One will be the standard Unicorn while the other I will be modifying into a Full Armor Banshee. These kits were well done and a step up from the Ver. Ka. The articulation is still improved. The only downside was the V fin folds in half and there was not a solid open v-fin like the OVA version. I'll have to get ahold of some of those though. Here are some Wip pictures of the building Process.

Steps to completing a Model Kit.

When building your kit there are steps that the should be taken in order to get the best result from painting your kit. This does not account for prep work such as sanding, and putty work.

Wednesday, September 11, 2013

Prototype Zaku II RD-4 part 2

Continuing on with the Protoype Zaku II RD-4 I am needing to make the waist a bit more secure due to the modifications I have made. Here is what I have done to achieve the waist Mod.

Prototype Zaku II RD-4

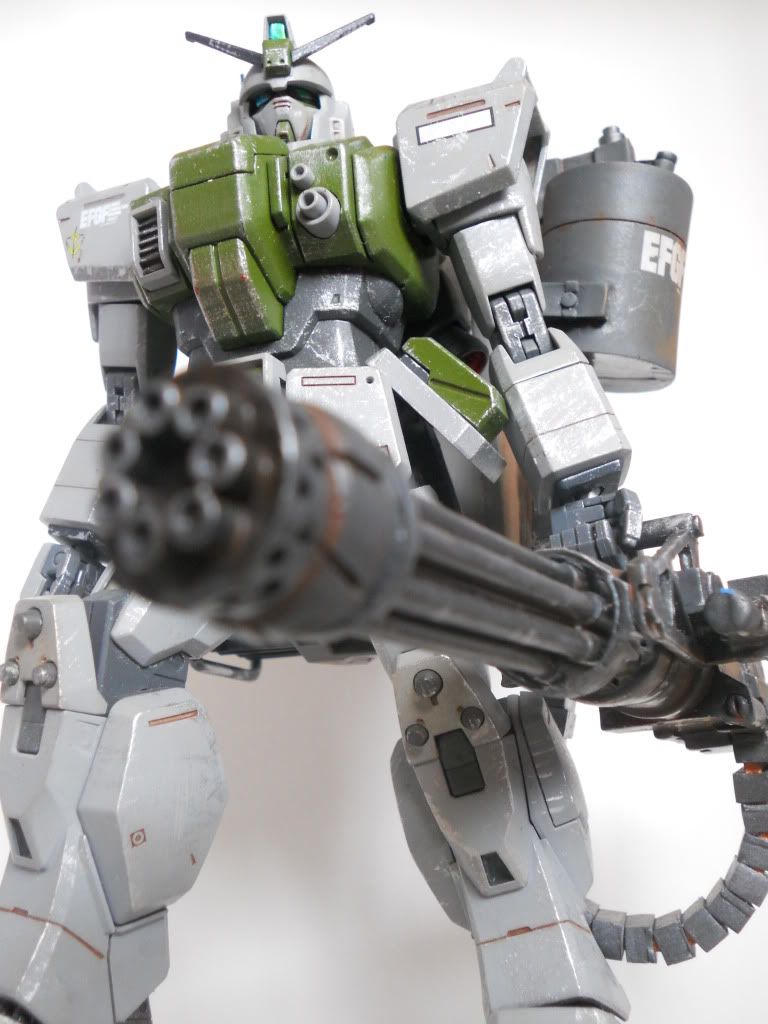
Here is an old project that has been in the works but I have not posted any Work In Progress pictures. I am working on this along with the RX-79(G). The project is inspired by the 08th MS team. No surprise really, since I am obsessed with all of the 08th MS Team Kits. This kit is seen in the first 2 episodes. The MS-06 Zaku II Rd-4 Model is a mix between the Zaku and Dom. This was a prototype suit piloted by Aina. Shiro was able to destroy it with a RB-79(K) Ball. But none the less this suit was pretty awesome looking.
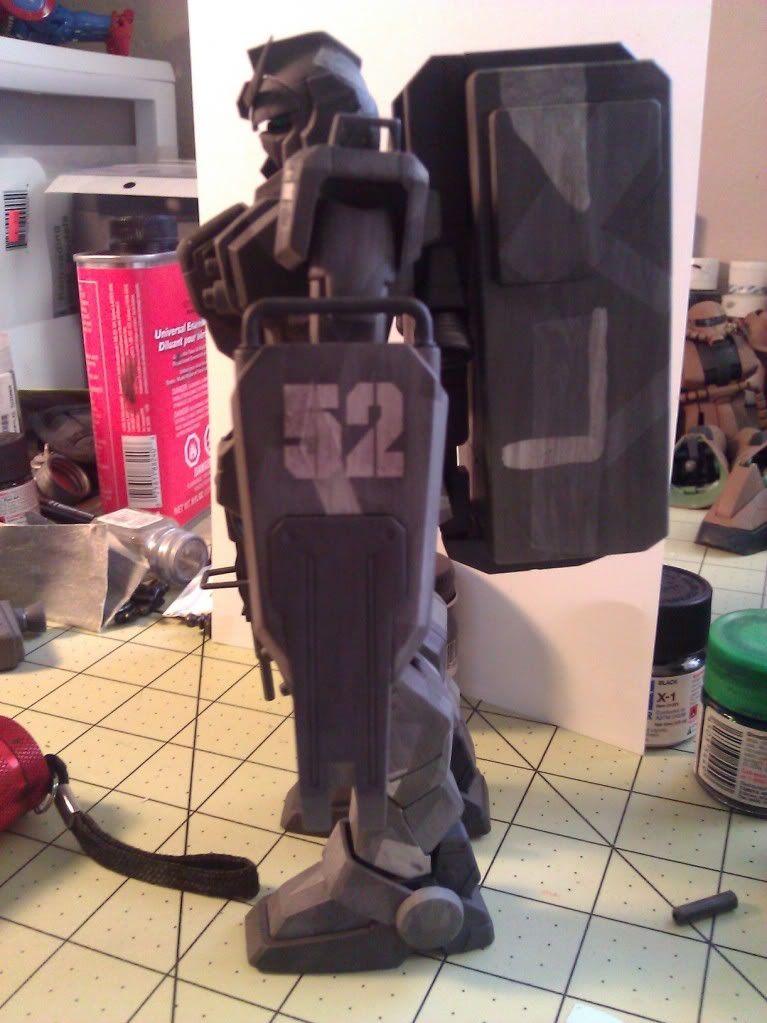
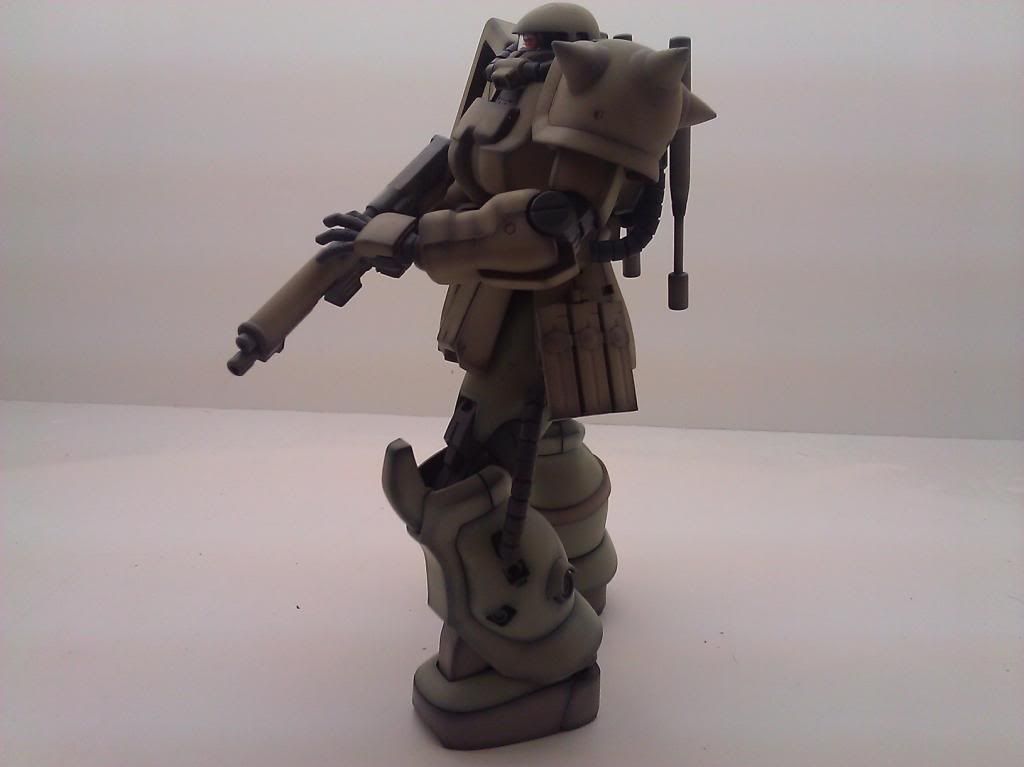
Here are the first few Work In Progress pictures.
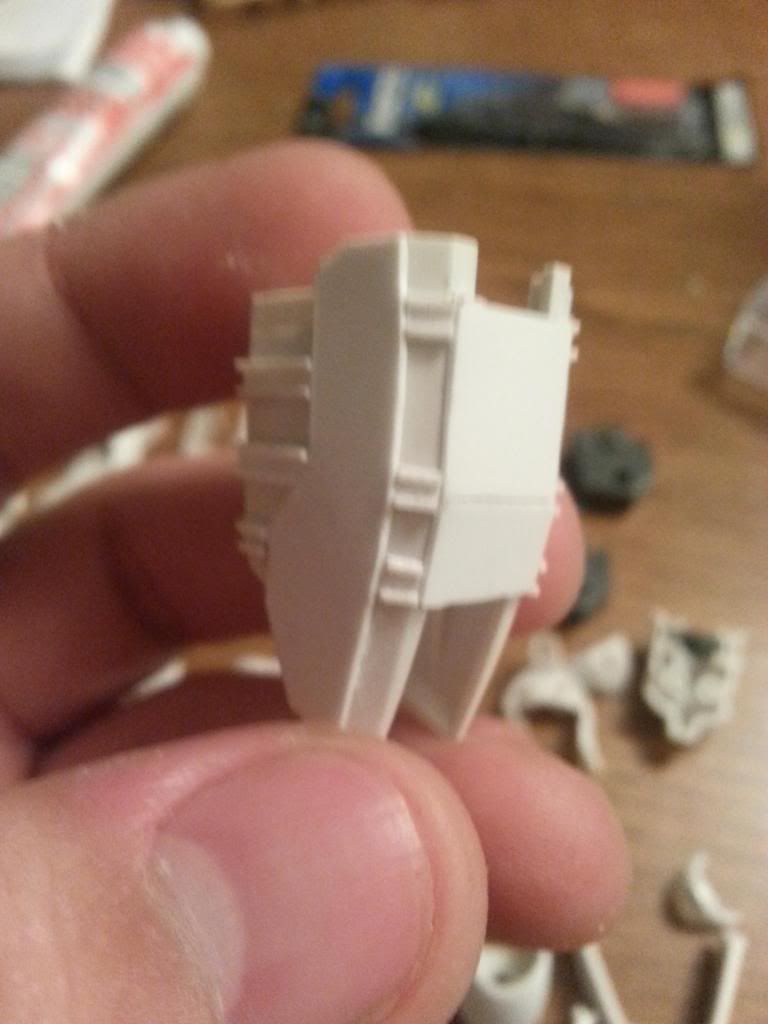
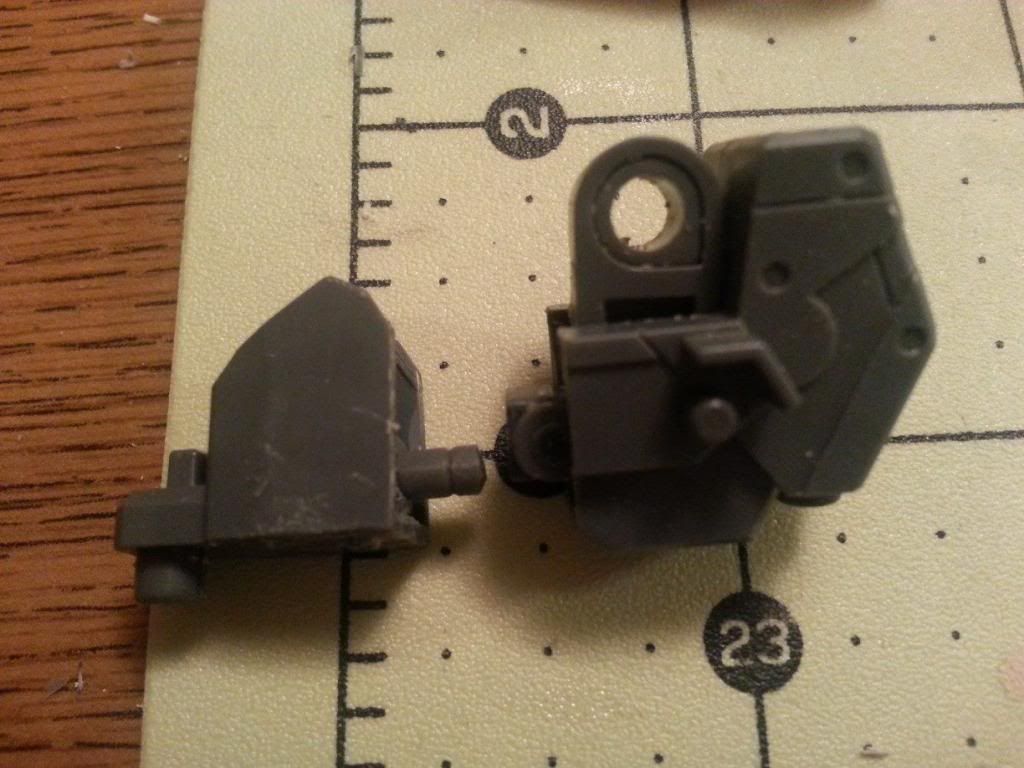
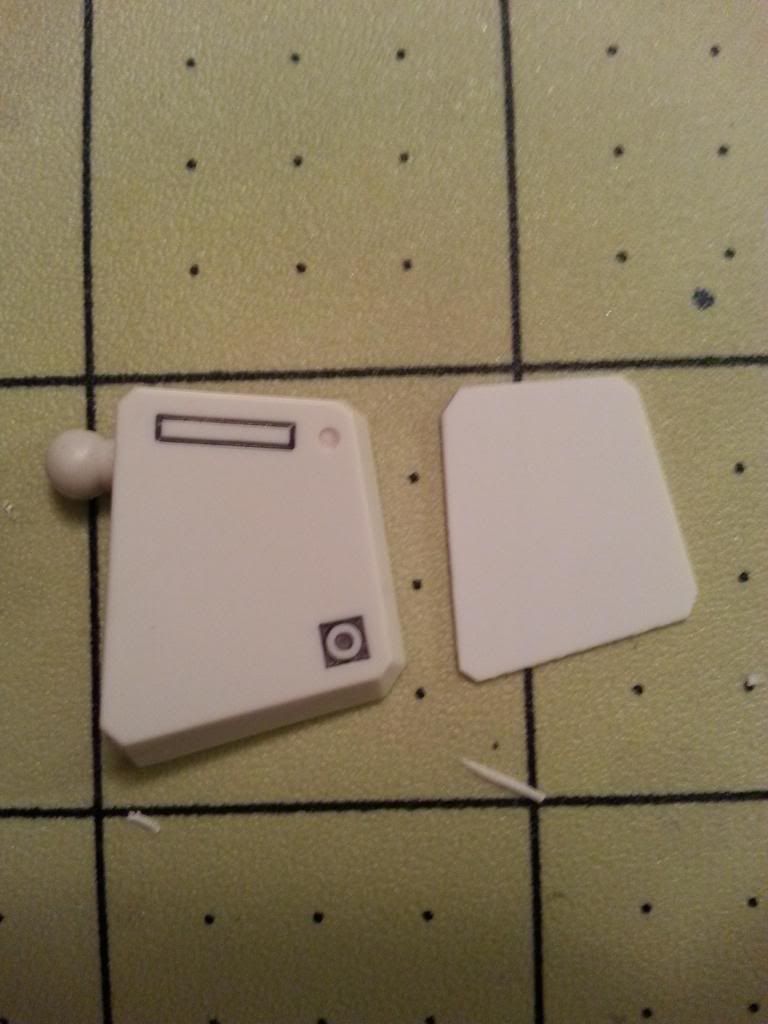
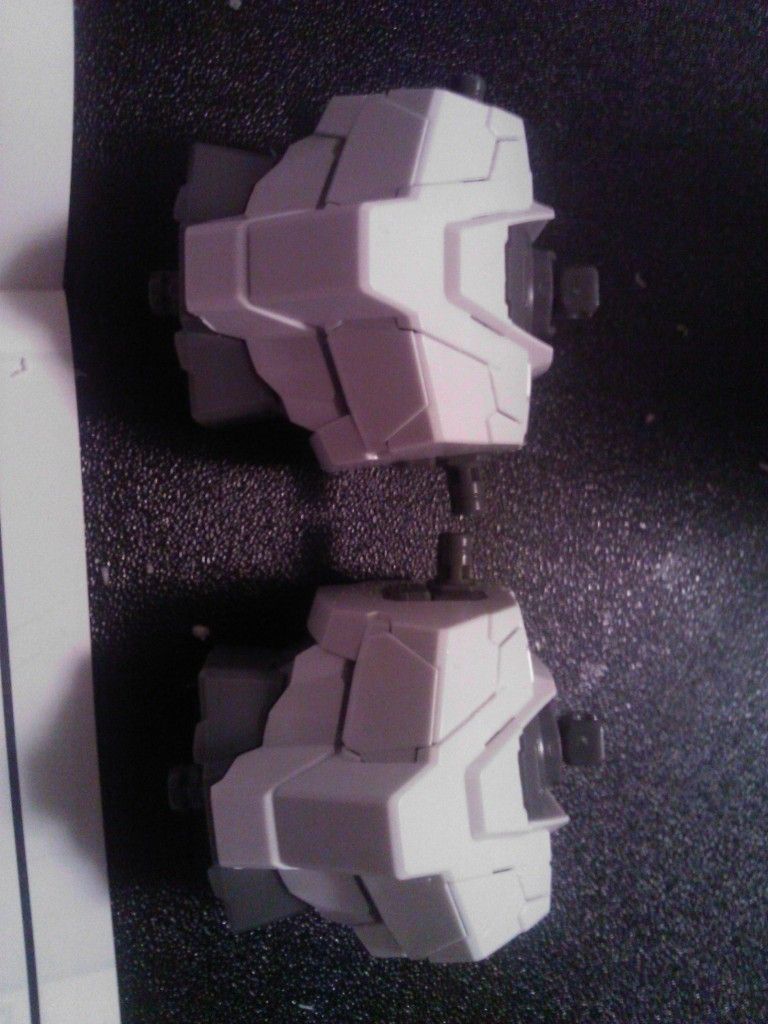
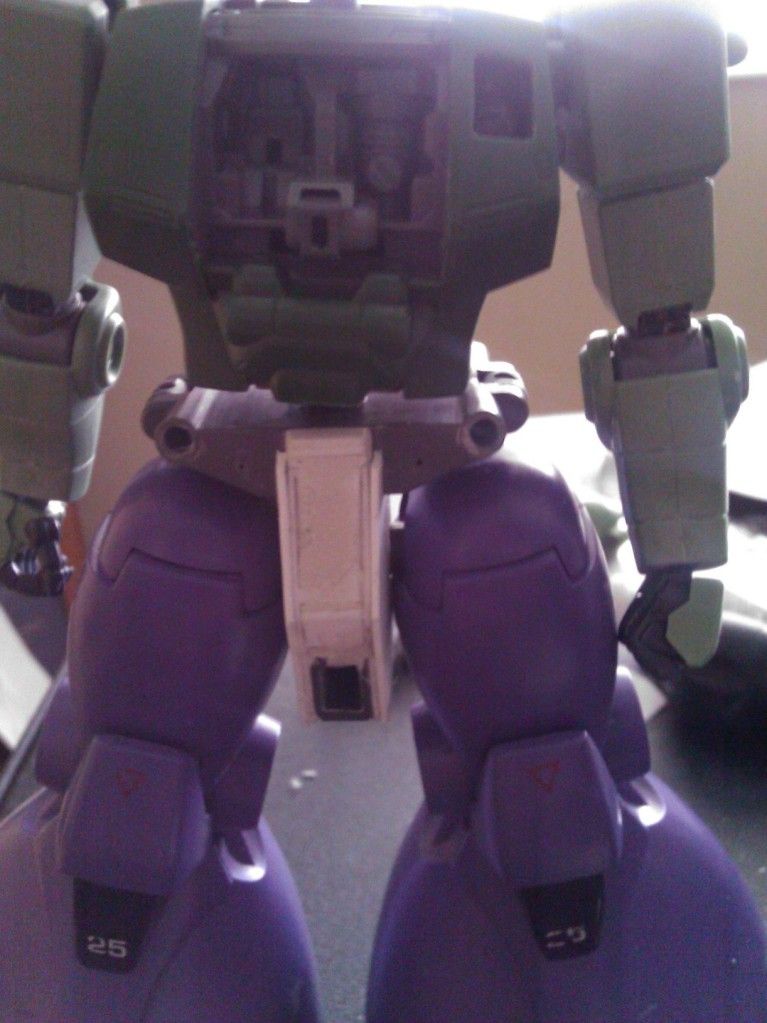
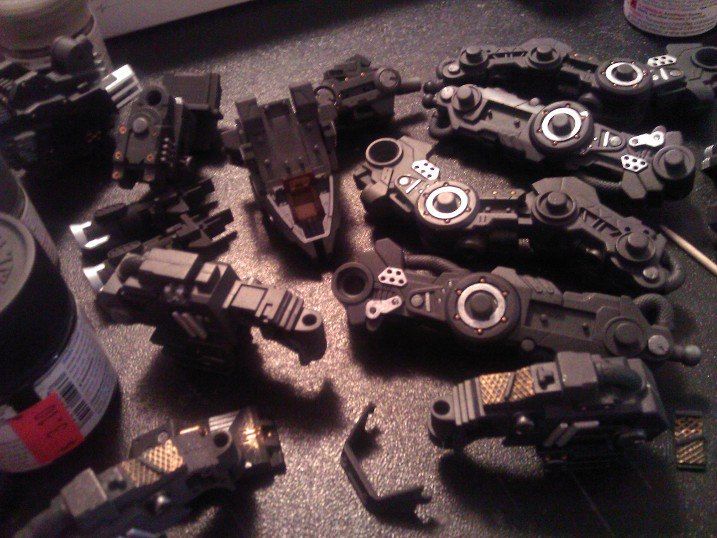
I was able to remove and modify the torso and modify it in a way to accept the Dom's waist. I put on the legs and decided to have the Zaku strike a pose.

Taking a break and having some fun

Every so often you have to treat yourself to a break. Here are a few fun pictures that were taken of bits of the Collection while I was away. I hope you enjoy them as much as I did and hope you are able to take some time and have some fun with your own kits! Just make sure to remember this is a hobby, this is something you want to have fun with. When it starts to become a chore take some time away, enjoy some other things or just take some funny pictures. All of the kits pictured are available at www.scalemodelhobbies.com

Tuesday, September 10, 2013

MS-05 Marble Zaku

This was the very first model kit that I hand painted. As you can see, this effect wasn't something possible with an airbrush. And since I hand painted the effect, I just decided to hand paint the entire kit. The original colors for the zaku were blue and green so I decided that the clear gloss for the effect was going to be blue and green as well. This was a lot of fun to paint. Although it was a lot of work as well. I used Tamiya paints to achieve the desired effect. I painted a gloss black for the base coat and used Silver and White to achieve the marble look. And then for color added the Blue and Green. This is definitely an effect that I would love to try again further down the road.

RX-79(G) Long Range Communications

Here is another RX-79(G). This time I decided to go with a very simple Paint Scheme. These are the standard colors for the RX-79(G) except for the extra ammo on the hips. This was a lot of fun to paint. This was also the first time that I have painted the RX-79(G) in standard colors as well. Although to spice things up a little I have added a long range communications pack to the head. This is an Idea I got from the original HG Ground Gundam Vs Zaku set. It was a lot of fun to modify and I have will be using the idea in further kits. If your interested in getting your own Ground Gundam click the link here: http://scalemodelhobbies.com/mg-rx-79-g-gundam-ground-type

Monday, September 9, 2013

RX-79(G) Heavy Weapons

This was a fun project. I used the RX-79(G) for the suit itself and used the MG Heavy Arms EW conversion for the Gattling gun. The Suit itself turned out great. This kit was completely hand painted. It was very enjoyable to paint. I was also able to do a lot of mods for the first time to the back pack mainly. This created that used effect which was a lot of fun to do as well.
For this project I am using the RX-79(G) which you can find here http://scalemodelhobbies.com/mg-rx-79-g-gundam-ground-type

RX-79(G) Urban Camo

This was a fun project, I have never done Camo before and this was my first go. I used Tamiyo Tape to create the Urban Camo look and I feel for my first try it came out pretty good. I am working on getting this to look a bit better and will be able to do so over time. Here are pictures of the kit

MS-06F2 Zaku II Type F2

Here is my completed MS-06F2 Zaku II Type F2 Kinbareid forces colors, equipped with leg missile pod. This was for a group build held at Hobbyfanatics.com about a year ago. Sadly life came up and I was unable to finish this until resently. But here it is in all its glory. This was a fun group build.


08th MS Team Zaku Team

This was the first set of kits I painted up as a Team. The problem with the first paint job is it was lacking and didn't look nearly as good as my resent works. so what I did was stripped the paint, repainted them with shading and did some damage work on them and this is how the trio of zakus came out. The idea came from and is based on the rogue team of zakus from the 08th MS Team.


Wednesday, August 28, 2013

MG RX-79(G) Winter Camo Communication/Expedition Part 2

New Update! I'm really powering through this!
As you can see, there isn't much articulation but there is something.. I feel as though this is a huge success for me! The bottom foot has the modification made to it.

MG RX-79(G) Winter Camo Communication/Expedition

So  I have a huge obsession with the MG RX-79(G). This kit i'm going to be doing a few new things. I'm going to be doing a waist mod to make it easier for seam removal and painting. I will be doing the same thing with the backpack. I also want to create some articulation for the feet. This is something I have never done before... This should be rather interesting. I am also going to be adding just a small amount of armor. The way I want this armor to look is though it was added on for necessity not for aesthetics. but it will hopefully at least look good. Here is some of the work I have done already.

So without further ado, here are some pictures!

HMM Liger Zero Finished

Sorry that the pictures aren't amazing. I can't find my camera from the move.... But the HMM Liger Zero which you can find here (http://scalemodelhobbies.com/hmm-liger-zero) for the group build back in December is now done! This model kit was very enjoyable to build. There is so much detail in the frame and it allowed me to go further with my painting than I ever have before. This kit took a good 10 hours to build and just about that much to get the full detail in painting. I may have even been able to take more time on the frame to really detail it up. If your looking for a challenging model kit, you love the Zoids Universe, then this is definitely the kit you want to start off with!

As soon as I can find my camera, I will post much better pictures.


Monday, August 5, 2013

HMM Liger Zero Project

It has been a while since my last update. I have finally purchased a home and can continue my modelling career. I have started working a the HMM Liger Zero kit and am thoroughly enjoying the builder. I am wanting to super detail the kit and it is really kicking my butt. HMM really is living up to its name. The amount of detail in the kit is astounding.